Focusing on Your Body, Mind, and Equipment with Levi Morgan
Archery Tips | “Off-Season” Improvements for Archers
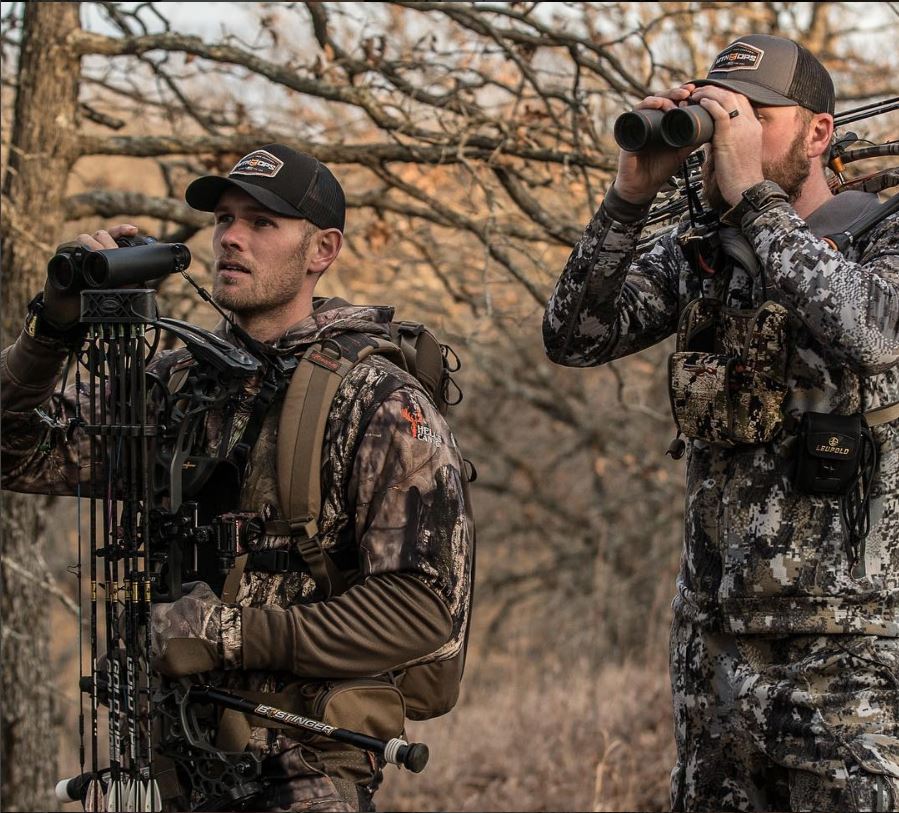
If you’re a bow hunter or tournament archer, you know that both take constant commitment. While most hunting seasons may be over, it’s our responsibility as sportsmen to stay motivated and on top of our game throughout the off-season. Why? For archers and hunters, there is no off-season and the one constant variable that needs to be maintained is ourselves. There is constant work to be done to engage the three most vital aspects of archery and bow hunting, your body, your mind, and your equipment. Every element affects your shot, don’t leave anything to chance…
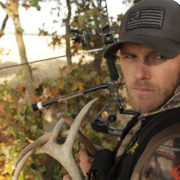
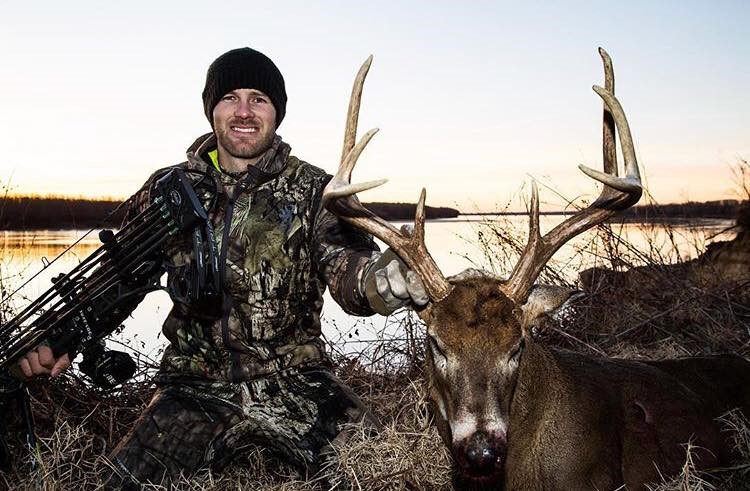
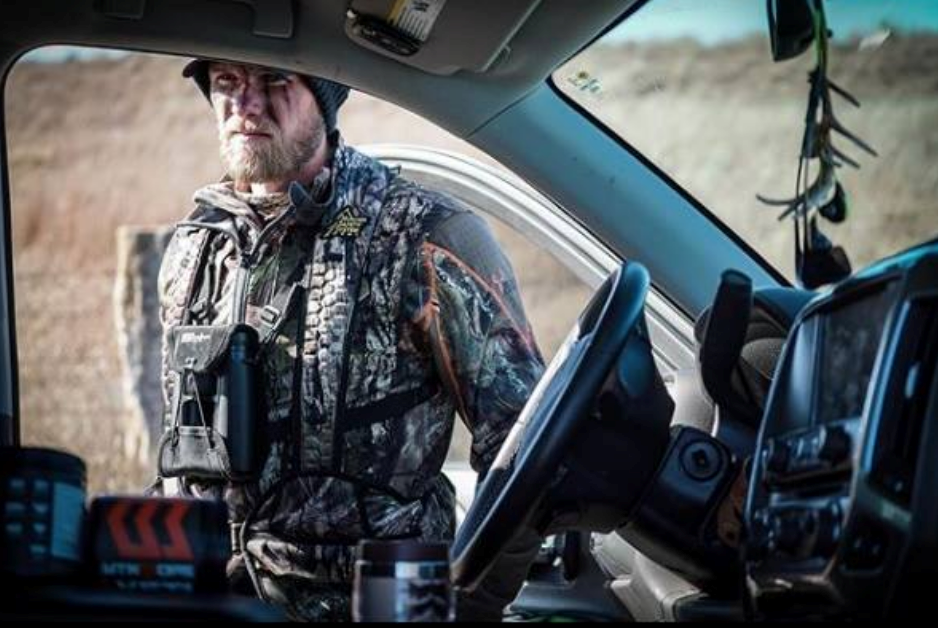
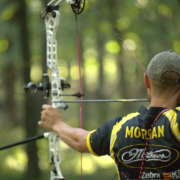
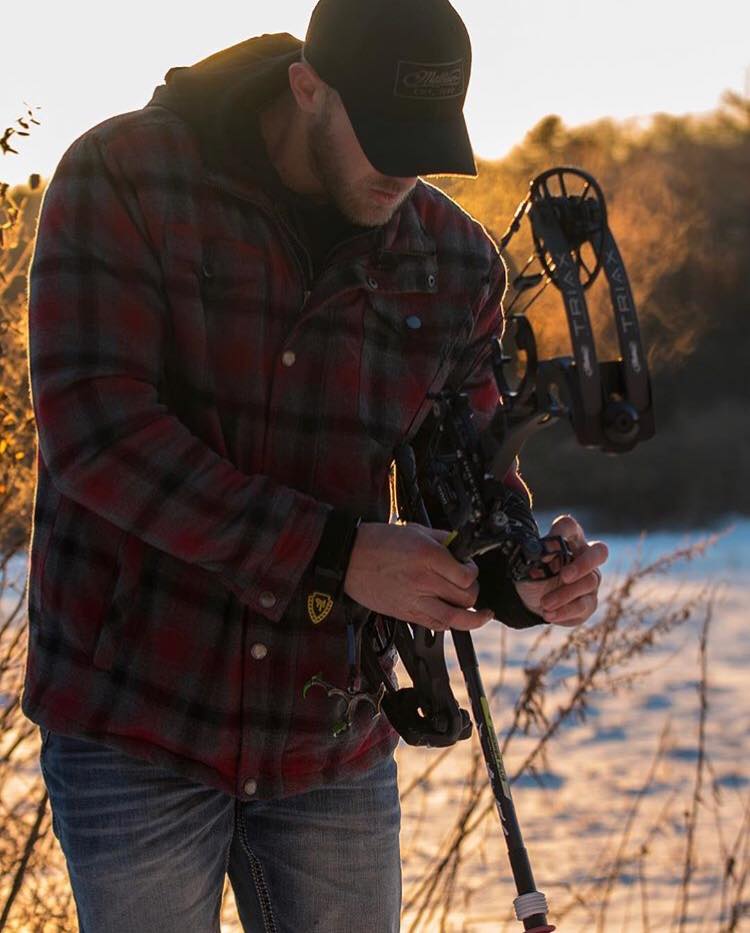
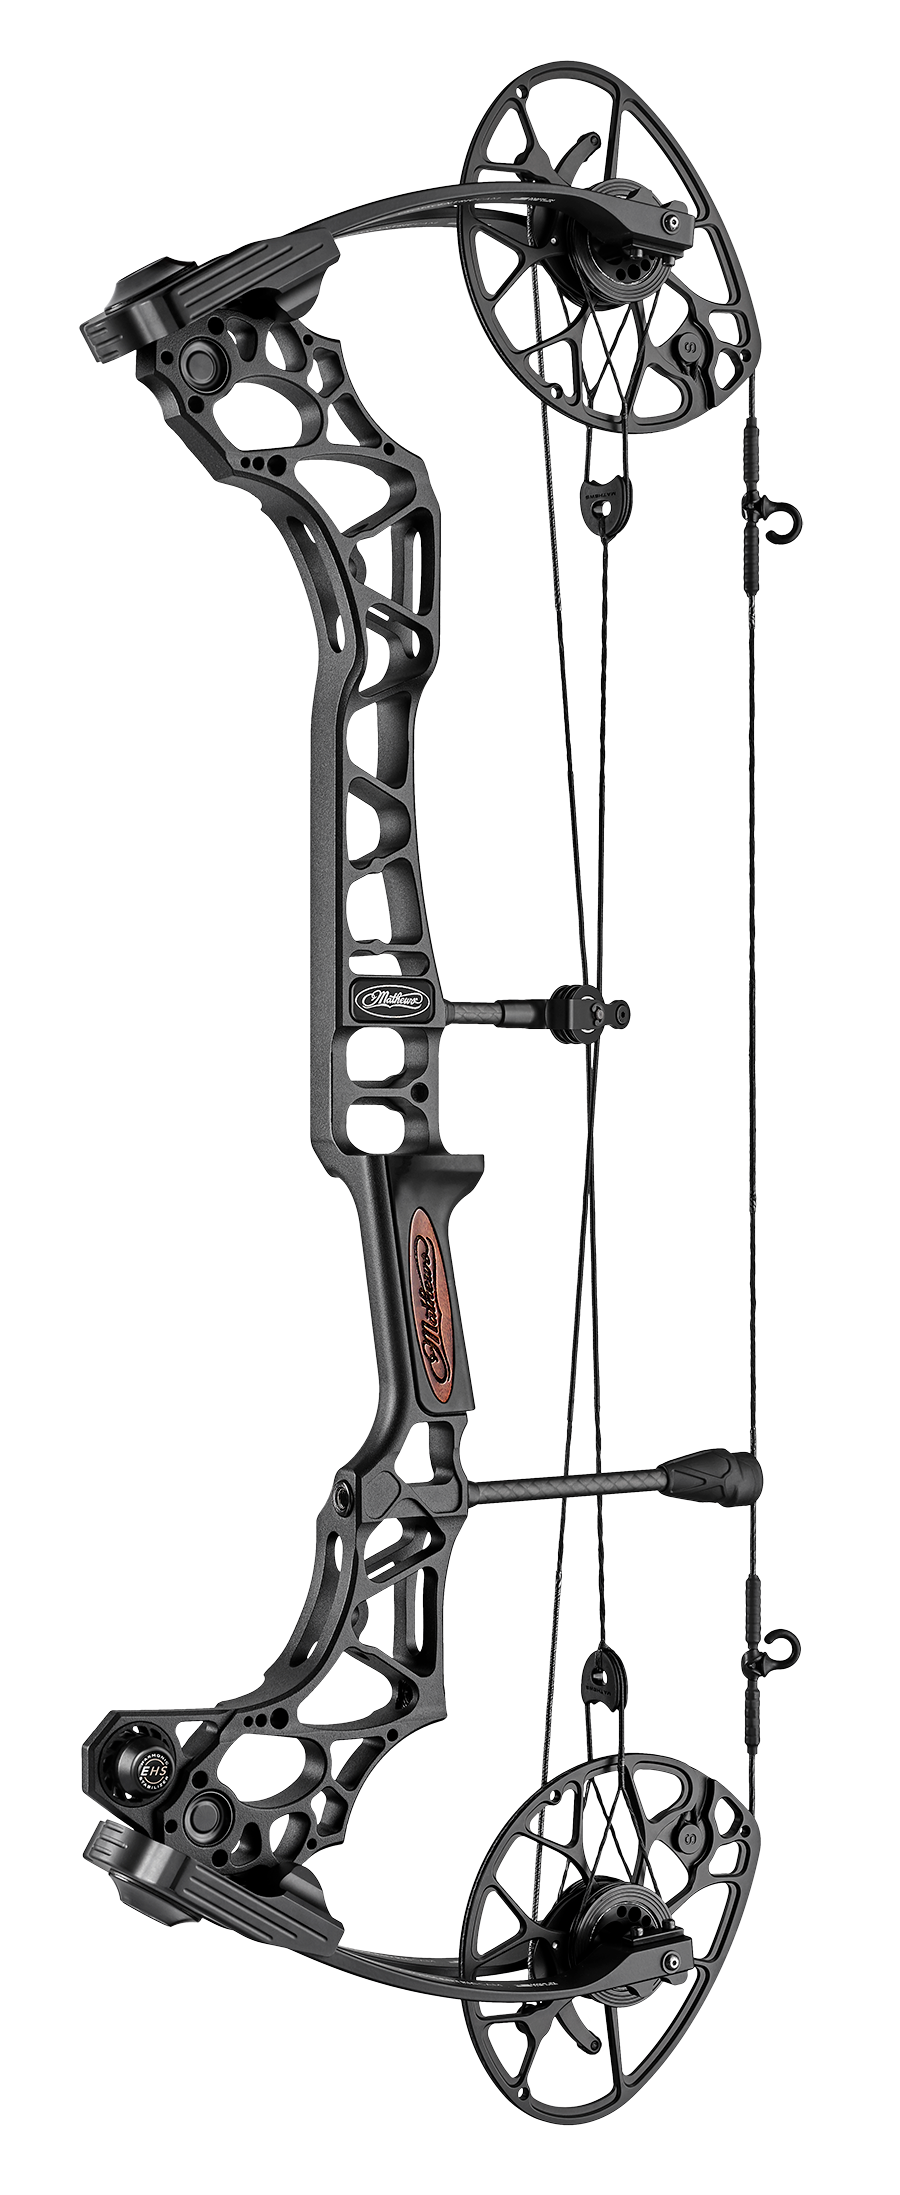
The Only Option – Mathews Inc. – Levi Morgan has dominated the archery tournament scene for over a decade, claiming 10 consecutive ASA (Archery Shooter’s Association) Shooter of the Year titles, 7 IBO (International Bowhunter’s Organization) Triple-Crown Championships, and 5 IBO World Championships, among other titles, making him the most decorated archer of this century.
When my hunting season ends, I go straight into tournament season. I have to be at the top of my game, so if anything, my season ramps back up in the “off-season”. I must have a constant commitment to my equipment, my mind, and my body. While you may or may not operate at the same intensity, what I’m focusing on now can help you for tournament season or next year’s hunting seasons. Whether you’re a competitive archer or a diehard bow hunter, take the information and archery tips below seriously.
Your Body
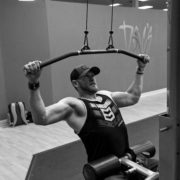
- Back – Arguably one of the most important parts of the body for you as an archer and hunter. This is where I typically start. Wide-grip lat pulldowns, bodyweight pull-ups, and standing T-bar row allow me to strengthen my back. Doing multiple reps and holding for a second or two after each rep helps me build stamina. This helps me to steady the bow at full draw.
- Shoulders – This is where most injuries occur in archery. I typically focus on mobility, not lifting heavy to avoid potential injury. Side lateral raises, dumbbell shoulder press, and the Arnold press allows me to keep my shoulders healthy and strong, without abusing them. This approach will increase my longevity while helping me maintain shoulder maneuverability.
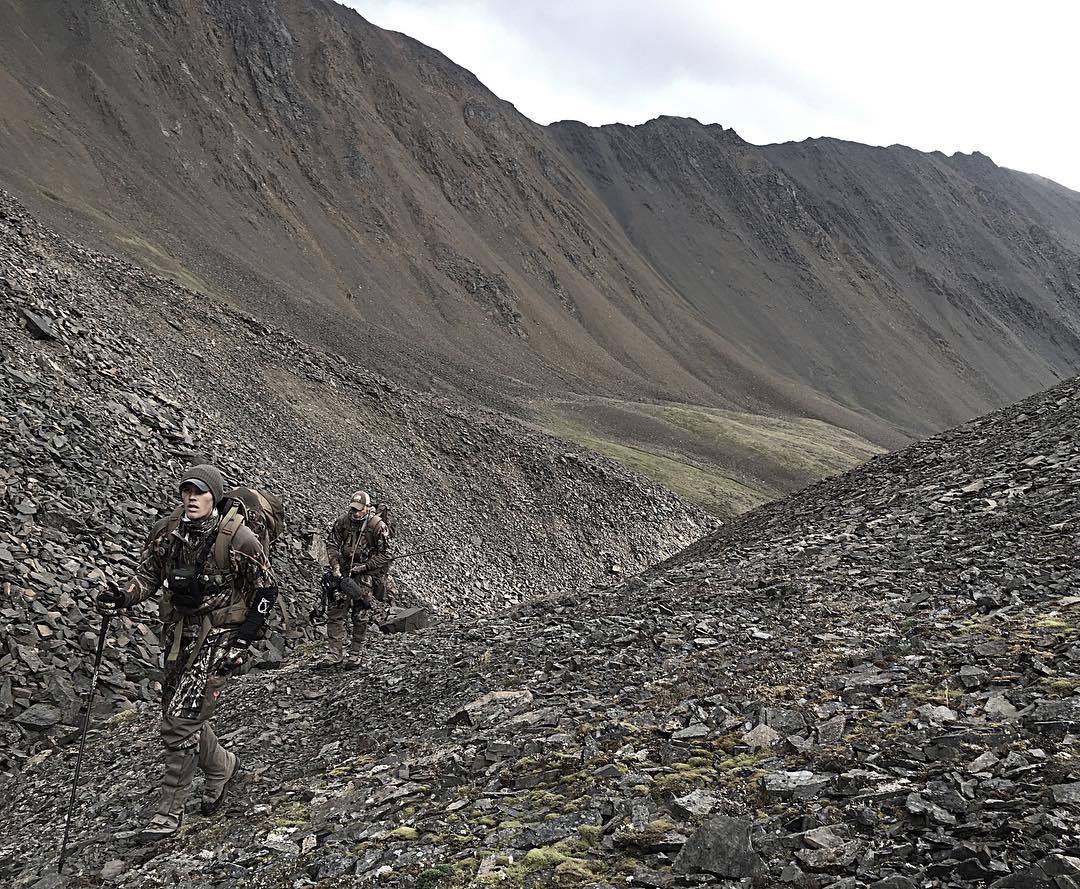
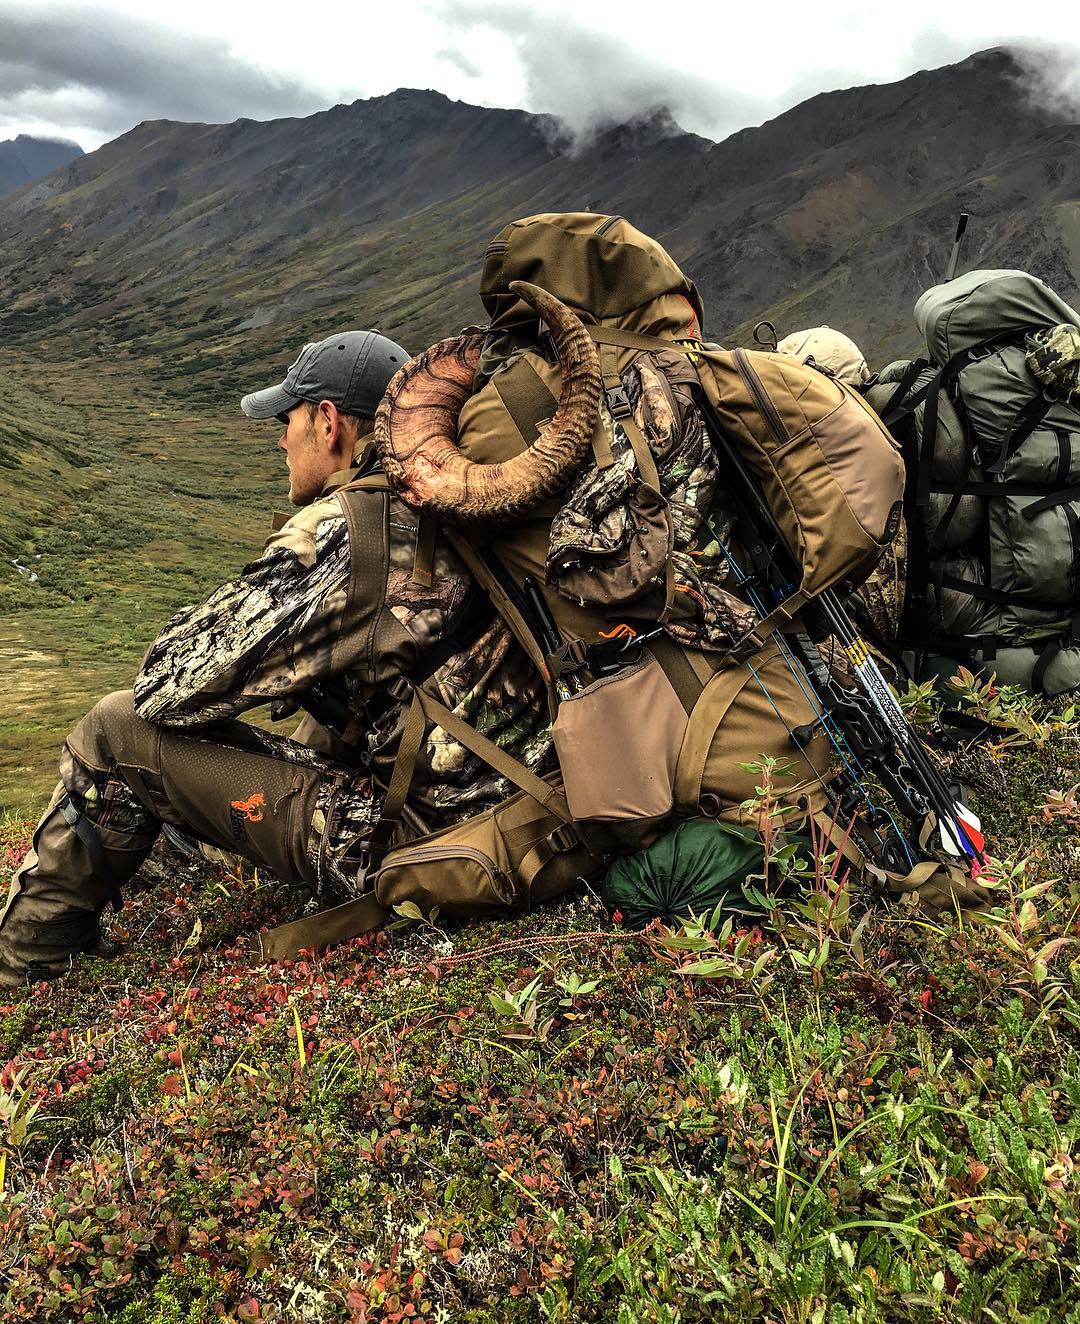
- Core/Cardio – These two together are vital for aiming and shooting, especially in bow hunting scenarios or outdoor tournaments where footing is inconsistent. Weighted crunches, hanging leg lifts, and planks allow me to keep my core strong for those uphill and downhill shots. While working on my core, I typically keep my heart rate at 150- 160 for around 20 minutes. This heightened heart rate is where I can expect it to be with at the moment of truth whether that may be a big buck or high-stress tournament situation.
- Triceps – This muscle group’s importance is dependent upon an archer’s form. The more bend in the bow arm at full draw, the more strength they need in their triceps. I try and take the bend out of my arm while shooting, while also strengthening my triceps with triceps pushdowns, dips, and close grip barbell bench press. In combination, I end up with less stress on my triceps each shot and better stamina.
Your Mind
- Film Your Practice – With every cell phone and tablet equipped with a high definition video camera it’s easier now more than ever to film yourself during a practice session. Setup a camera to film your shooting form. This allows you to go back and review the footage. Having the ability to identify issues with your form, release, and follow through quickly and make adjustments to the issues before they become a bad habit. Watch yourself throughout the draw, anchor, shot, and follow through. Also look for problems in the shot cycle, be sure to pay attention to the smallest details.
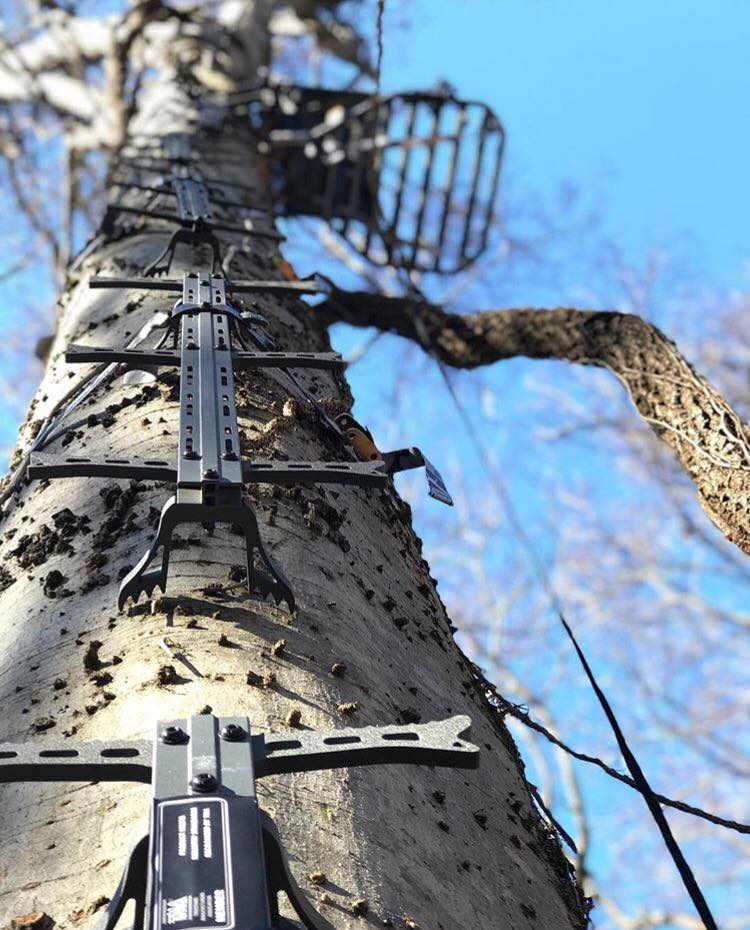
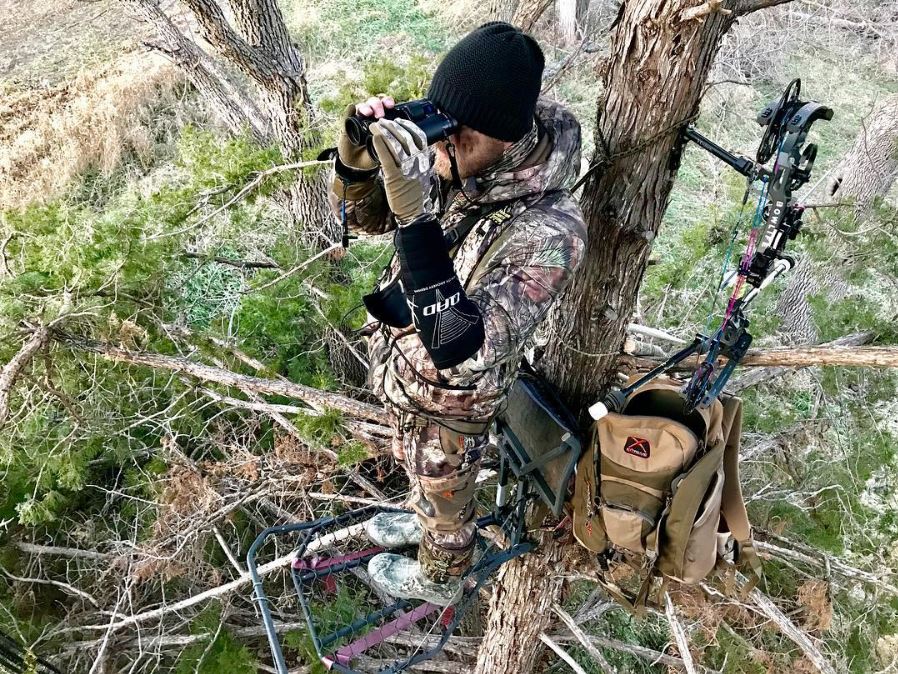
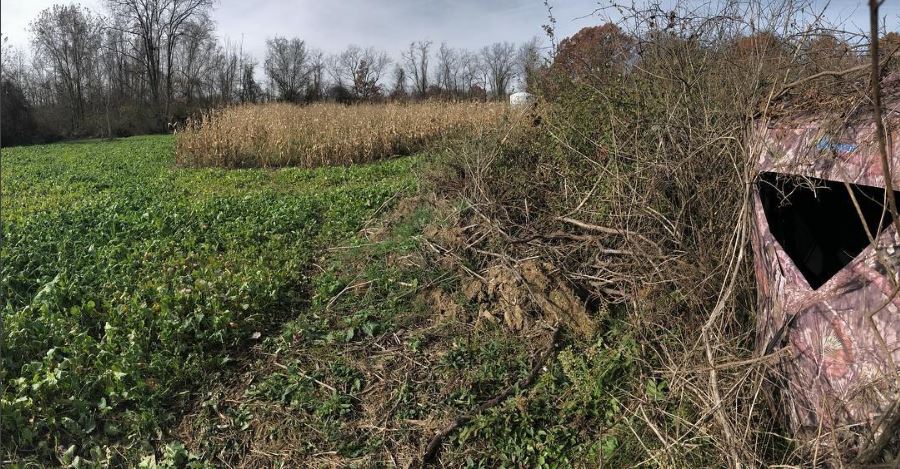
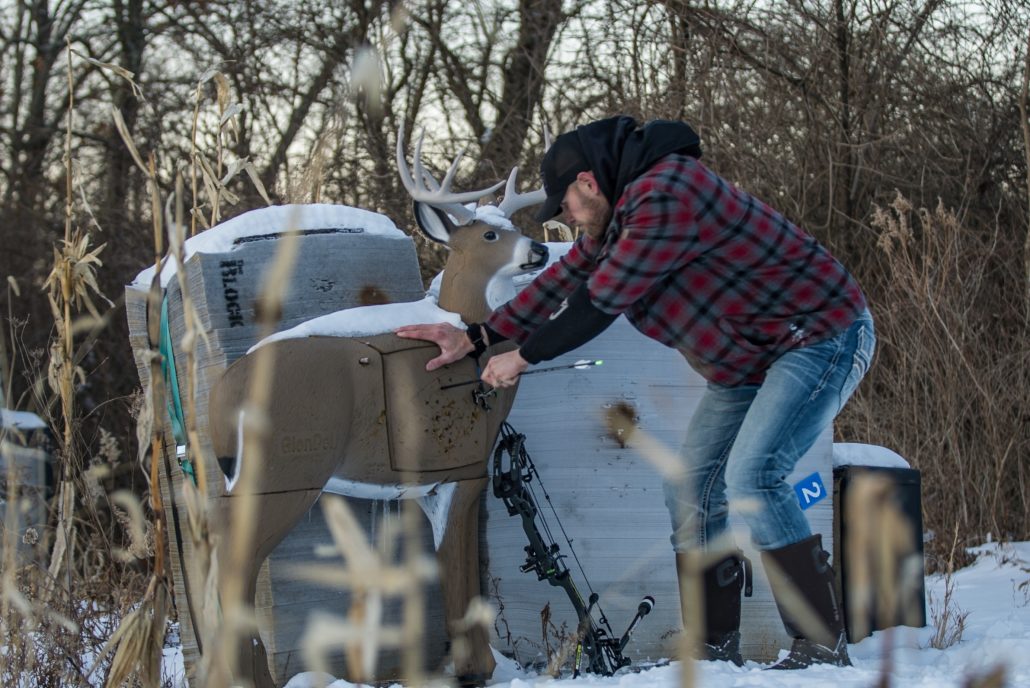
- Practice How You Hunt – There’s an age-old adage that you play like you practice, and it holds true for archery and hunting. When hunting from an elevated stand, make sure you make shots from a stand during your practice. If you hunt from a blind and plan to hunt sitting in a blind chair, make sure you practice that setup. Practice standing at a yardage line, shooting straight at targets to help you develop form and confidence. Keep in mind that this isn’t consistent with hunting situations. Spot and stalk hunters need practice from kneeling positions and practice making a shot after crawling or sitting for periods of time. Tree stand hunters need to practice extreme angles. This can and should be done in practice similar to a real hunting situation. Make the time you put into shooting count, quality practice will build a quality archer.
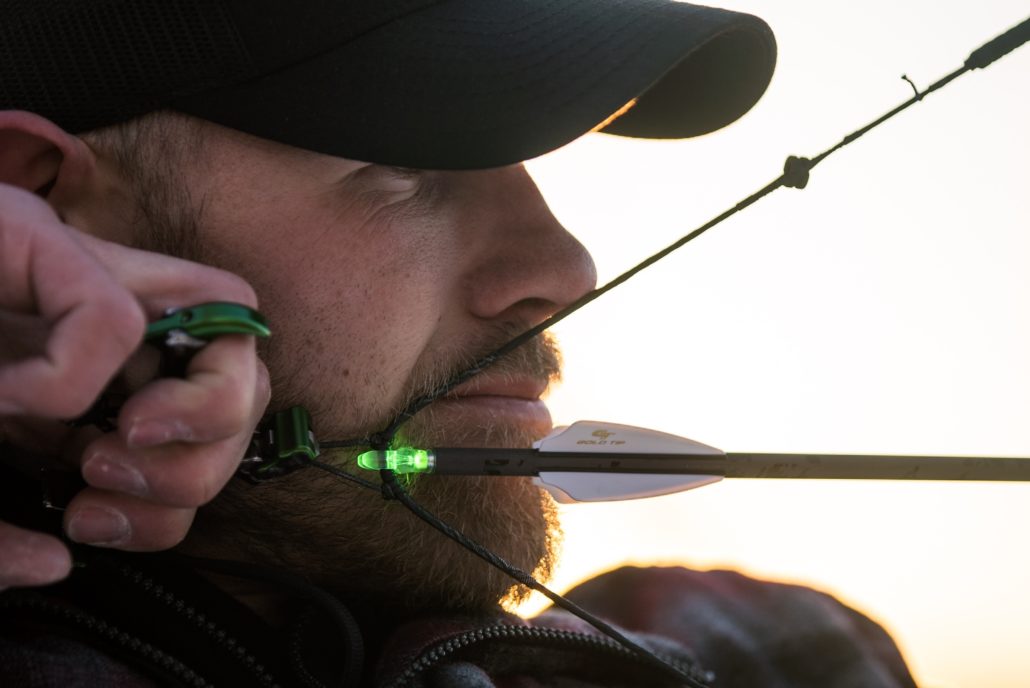
- Develop a Repeatable Anchor – Work to develop a smooth and efficient draw during your practice sessions and bring that draw to a clean and repeatable anchor. It is key to your accuracy to develop an anchor, often using multiple anchor points to draw to. Being able to have the same anchor time and time again will help you develop muscle memory and it will go a long way to making the shot count when you have an opportunity under pressure. The critical aspects of the anchor consist of how your hand fits the release, how your hand touches your face, and how the string touches your face. Developing a three-point anchor that you can consistently duplicate time and time again is critical to your accuracy.
- Shoot One Arrow– Shooting only one arrow will force you to slow down and make each shot count. Take your time and concentrate on the draw, the anchor, and the target one arrow at a time. When you shoot only one arrow and walk to retrieve that arrow after each shot, you force yourself to concentrate on each shot and make it count. One arrow practice sessions can really help strengthen your mental game. The one-shot technique forces me to slow down and focus on all the aspects of the draw, anchor, target, shot, and follow through. Practicing with only one arrow is also much like hunting, you have to make that one arrow count when the shot presents itself on a hunt. This one arrow practice session makes me focus on the only thing I can really control, myself.
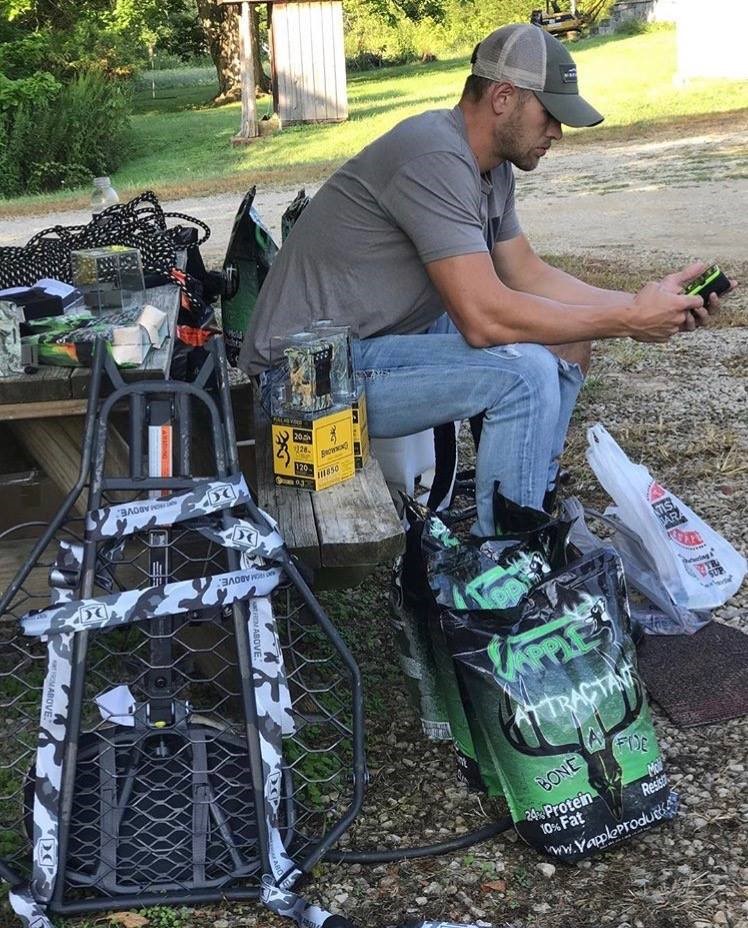
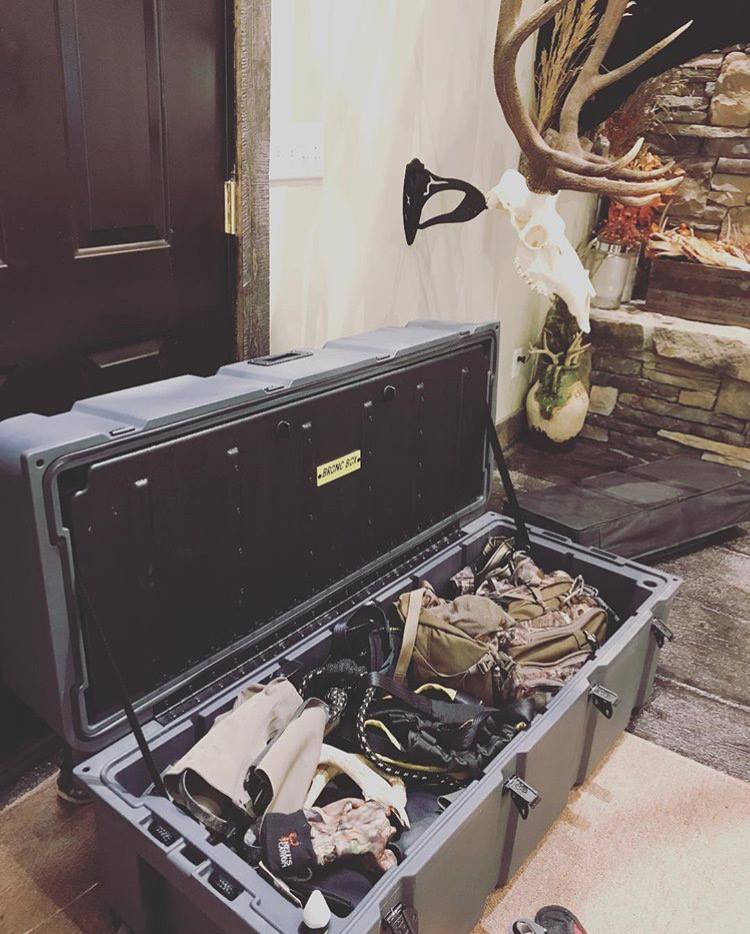
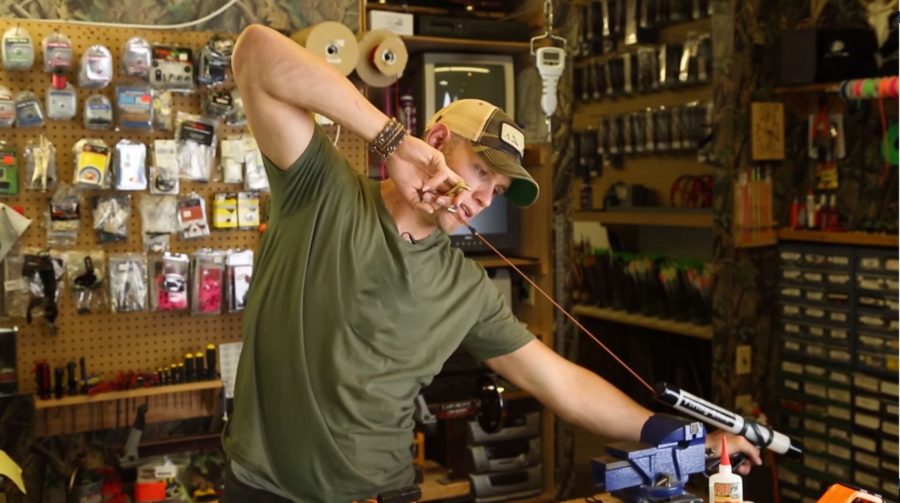
Your Equipment
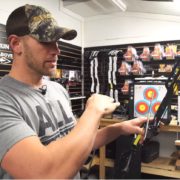
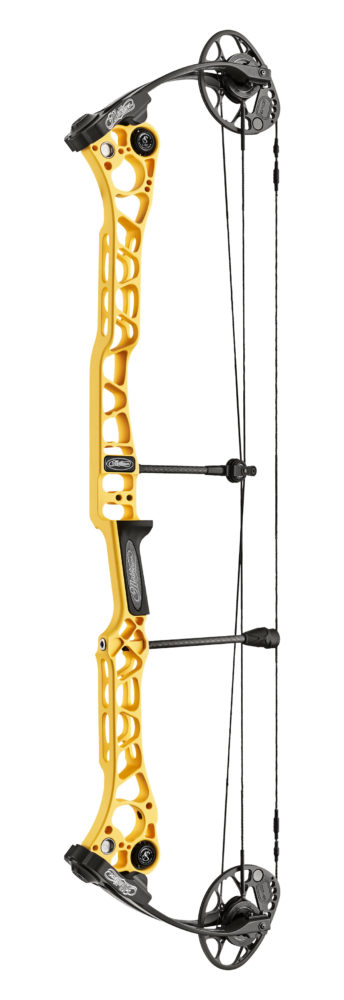
- Bow Maintenance– Just after hunting season, it’s a good starting point to run through a quick checklist. This list should include: string condition, cam alignment, looking for any rust or corrosion, and checking for any loosened fasteners. Having a qualified bow technician you trust to give your bow a once-over is a great idea, as they might also be able to recommend improvements that you can adjust and work through during the winter and spring months. If you feel like your bow is perfect, it happens every once in a while, make sure you write it down! That absolutely perfect setup should be recorded for future setups. This is especially true before you go and adjust your equipment or get a new bow.
- Arrow Choice– Choosing the right arrow for your bow setup will be dependent on what you’re hunting. Making a change in the arrow you shoot doesn’t make sense during an open hunting season, but during the off-season you have the freedom to experiment with other options. Consider changes in arrow diameter, arrow spine, and arrow weight within the capabilities of what your bow is designed to handle. Trying different fletching types, nocks, and point weights to see what shoots best from your bow. Be sure to mark each shaft with a unique identifier so problem shafts can be eliminated. When you find that ideal arrow setup…again take record of it.
- Release Type – Being an effective and accurate archer is more complex than you might expect at first glance. A lot depends on one single piece of equipment, especially when it comes to accuracy and repetition. Making sure you’re using the right release could be a game changer going into next year’s hunting season. If you’re curious to try a new brand or even a new type of release, now is the time! There are four types of releases: index finger, thumb trigger, back tension, and resistance activated. If you’re curious which release fits you best and is most accurate in your hands, then use this off-season to fine-tune the right release for you. Be sure to consider your hunting and shooting conditions when you’re evaluating releases. Do you hunt cold weather and wear gloves? Do you spot and stock, elevating the risk of losing a release not attached to your wrist? Make sure you consider all aspects of the hunt before you decide on a release.
- Broadhead Choice – One of the key components in bow hunting is the broadhead. It’s the first piece of your equipment to come in contact with the trophy you’re pursuing. A hunter’s broadhead must be accurate, rugged, sharp, and most of all deadly. Making changes in broadhead choices is best done between big game seasons when you have time to properly evaluate and tune your bow. Any broadhead you shoot must be proven and deliver confidence in repetitive lethal hits.
- Bow Sight – One thing a lot of guys change during the off-season is their bow sight. There are many brands and types of bow sights on the market, and every year a new model comes out. Some shooters prefer various pins from 7 all the way down to 1, this is the time of year to find what best fits your ability, equipment, and hunting style. Don’t neglect your peep sight when you’re considering your bow sight equipment and any changes. The peep is a small part of your setup, but it’s critical. Consider the size of the peep and the amount of light it allows in. Is this the time to consider adding a peep with magnification if you’re having trouble focusing on your pins? Make sure you at least consider your front and back sight choices and if a change might help you in the field.
- Stabilizer – Changes to your bow stabilizer can change the balance and torque at the shot. Every archer shoots differently and as a result, each individual bow and shooter require their own balance ratio. I set my balance ratio by observing how much pressure I put on the back of the bow. Essentially the harder I pull, the more weight I need on the front bar. If you have a very light front bar on a high let-off setup and you pull hard on the backend of the bow, your pin will simply float wildly and an accurate shot will prove very difficult to make. This suggests where to add weight to balance the bow. So it’s not a one fits all mentality. Analyze what type of shooter you’re before worrying about stabilizing your bow.