Archery Fit Archery Tips | Centering Nocking
Center Nocking and Tuning a New Bow
Setting up a new bow is always a challenge and can at times be frustrating. The best approach is to make the process as simple as possible and minimize the frustration by developing a step by step procedure to use as a guide.
Tuning a New Bow
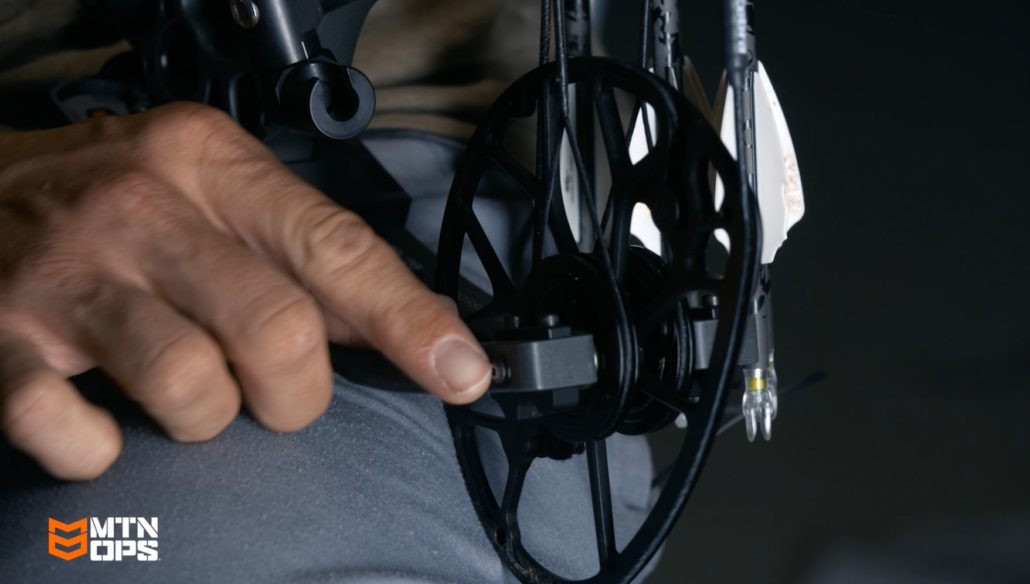
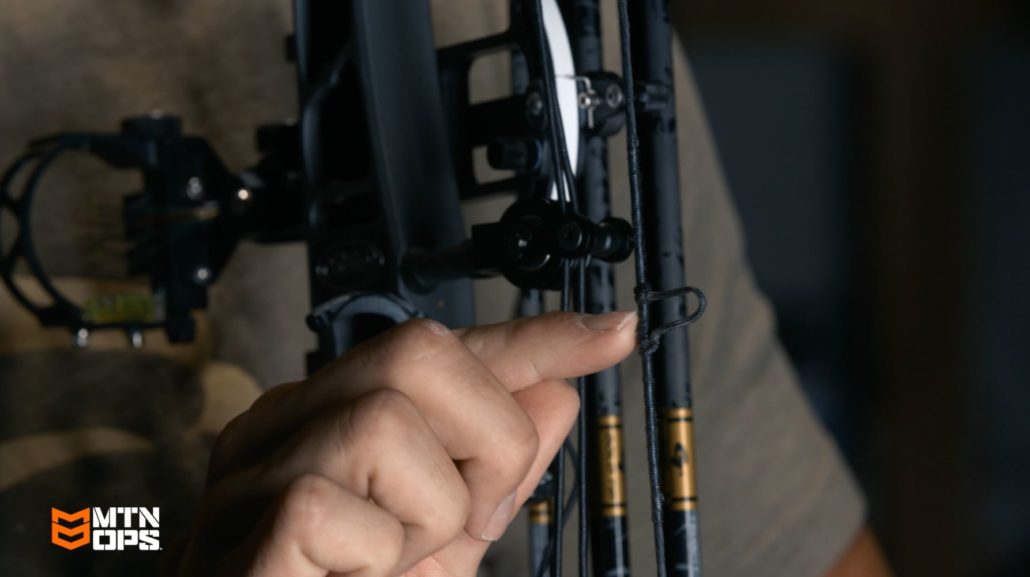
The first step is to adjust a new bow to the desired draw weight and draw length plus properly timing the cams. Once that is accomplished the next important step in the process is the centering of the nocking point between the axles of the bow. This is simply done by measuring the distance between the axles and using the midpoint to locate the position of the physical nocking point. This is the initial step in what can be a prolonged tuning procedure but it is the best place to start as it develops a base around which the remainder of the process centers. The nocking point and the horizontal position of the arrow rest are at the heart of a well tuned bow. By centering the initial nocking point between the bows axles and adjusting the arrow rest accordingly with the string splitting the arrow when viewed from the string side it puts you in the ball park. (Note: The horizontal position of the arrow rest indicated is for a release shooter. Finger shooters may find the point of their arrow laying slightly outside the string when viewed from the string.) This now becomes the basis for the tuning procedure.
Ultimately bow tuning is a series of adjustments followed by trial and error. There is no one size fits all. Everything you do, touch, or adjust when tuning a bow does not act by itself alone. It is combined with the entire bow and you as the shooter. So when you make a slight change to the nocking point you could find you may also have to make a slight correction to the position of the arrow rest which in turn could require another very slight adjustment to the nocking point. This is not meant to be confusing or intimidating but to stress that tuning a bow is a series of steps each of which brings the bow closer to a perfect tune. Centering the nocking point between the axles helps minimize the number of steps and changes required as it puts you closest to what will be the final position for the nocking point. It also helps minimize the total number of steps required in the tuning procedure which makes it a very logical first step.
The results of a perfectly tuned bow should be a bow/arrow set-up that hopefully produces perfect arrow flight but also a set-up that not only shoots well but one that is forgiving and minimizes shooter errors.
Shooting machines eliminate the human element and therefore human error. They are excellent for the testing of new products such as arrow rests, stabilizers, different styles and fletching shapes, broadhead flight, and a whole host of other tests that have led to some major advancements in archery technology. In addition they are capable of shooting exceptional groups and can clearly show the difference in arrow spine and fletching combinations. They also can produce excellent groups from an out–of–tune bow because the “machine”, unlike a human archer shoots every arrow exactly the same. An archer should strive for a bow that is tuned for not only the mechanical components, bow, arrow, rest etc. but for the archers form as well. The ultimate bow is one that minimizes human error as much as possible and allows what should have been a 10X to be a 10 if form is not perfect instead of a nine or even an eight.
Bow Tuning Methods
There are numerous methods used for bow tuning from the bare shaft test to paper tuning and all can produce excellent results. All involve a series of shots followed by recommended adjustments and retesting. When using the method of centering your nocking point between the axles of the bow physically it may not be necessary to move your actual nocking point if the tuning method you are using suggest to do so. Moving the arrow rest vertically will accomplish the same desired result. Raising the rest actually lowers the nocking point while lowering the rest raises the nocking point all while keeping the nocking point centered between the axles. It is also important to note that effective changes can be made when using certain arrow rests without actually changing the rests physical position. When using an arrow rest with an adjustable spring tension, tightening the spring tension will act the same as raising the rest while weakening the spring has the opposite effect. When using a springboard or lizard tongue style rest, changing the thickness of the rest will act in the same way. A stiffer, (or thicker), launcher acts the same as lowering the nocking point and a thinner, (or weaker), launcher acts the same as if the nocking point was raised.
Normally when making adjustments most archers simply reshoot the bare shafts or perform another paper tear test. This is fine, but adding another “group test” after each adjustment is highly recommended. Sometime the smallest change will change the size and shape of the group produced. Make up a series of simple targets with the same size aiming dot. Fire four to six arrows at the same distance after each adjustment. Number each target and record the measurement of each group overall noting anything unusual. Note on each target the adjustments made and number the targets in order of sequence. As the groups grow tighter repeat the shooting part of the test from longer ranges again noting conditions and changes. Observe your targets for the tightest groups overall over a series of shots. The tightest groups will also be from the most forgiving set-up for your shooting style. That now becomes the ultimate set-up for that bow.
Once you are done with the tuning process record everything. Note the vertical and horizontal position of the arrow rest, the height of your peep from the nocking point, the distance between axles etc. This is valuable information if in the future you have an equipment failure or as a reference guide when you go to set up your next new bow.
When shooting different bow models and different bow manufacturers pay particular attention to the ones that “feel” the best. All modern bows are basically good shooters but some bows will fit your shooting style better than others. Many shooters think they can buy accuracy by spending more money but accuracy comes from shooting, shooting and more shooting. When you have enough shooting experience you can actually feel the difference between different bows. When selecting your next bow don’t immediately spring for the most expensive one but instead go for the one that “feels the best”.