How to Properly Anchor Your Bow: The 3 Point Process
Archery Tips | A Consistent Anchor Point
Whether it’s for competition or for hunting, a consistent anchor point is a crucial component to shooting your best. Accurate shooting is repetitive shooting, and to be repetitive, you need to have an archery form that you can repeat subconsciously. This means knowing how to properly anchor your bow. There are three main components when developing a consistent anchor point: release-to-hand contact, hand-to-face contact, and string-to-face contact. All of three of these points are crucial in assuring repeatability in your form and becoming the best archer or bow hunter you can be.
Release-to-Hand
The first point to focus on is where the release sits within the hand. Altering this position can affect form, draw length, and subsequently, accuracy. That’s why finding and practicing with the release in only one position of the hand is crucial in your success as an archer.
There are two aspects to consider when finding the correct release-to-hand contact position. These are comfort and consistency. It is essential that your release of choice fits comfortably within your hand. Secondly, this comfortable position needs to be repeatable. That’s why I recommend marking that comfortable spot, either with a marker or a piece of tape. This will help you to assure that you place your release there every time, until it’s the only place comfortable place to do so.
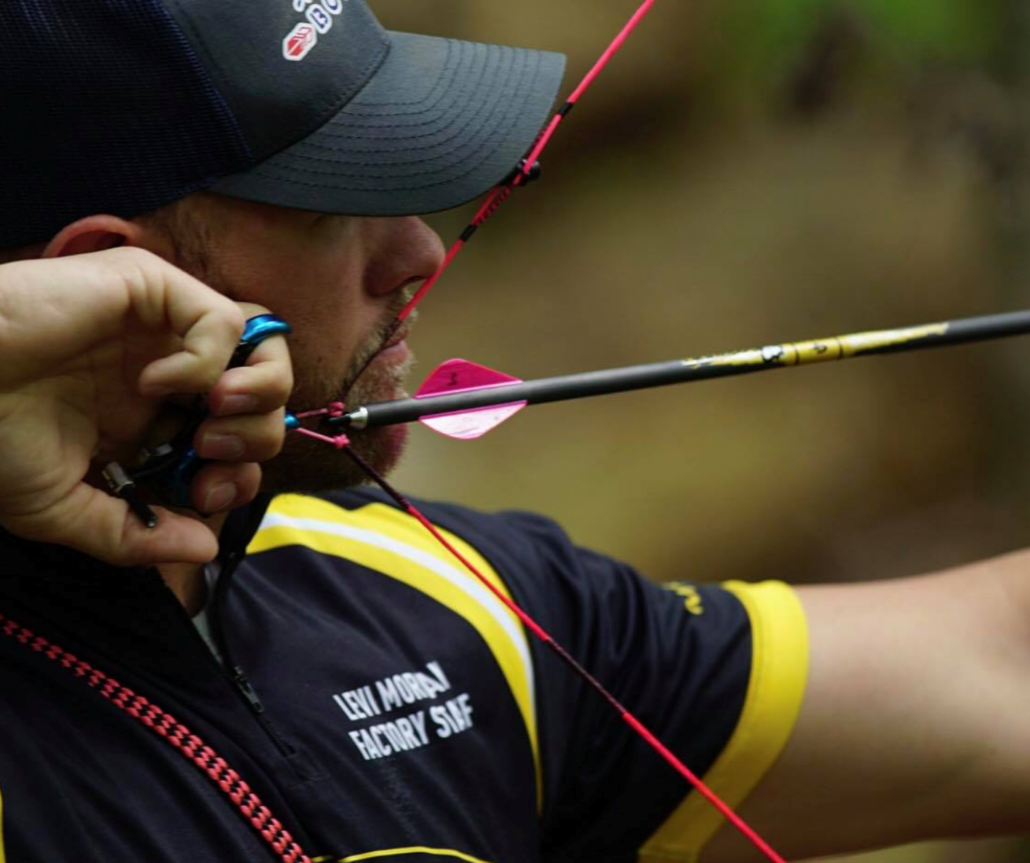
Photo: The first point to focus on when developing a consistent anchor point is where the release sits within the hand. Altering this position can affect form, draw length, and subsequently, accuracy.
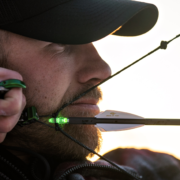
Hand-to-Face
Once you have the release in a comfortable position in your hand, you need to find a consistent position to mount your hand to your face. When doing this, it’s important to make actual contact without pushing too hard. No contact makes it nearly impossible to be repetitive, while pushing too hard makes it difficult to execute the shot.
I personally use my first and middle knuckle and lightly anchor it against my jaw bone, avoiding excess pressure. This is both comfortable and easily repetitive.
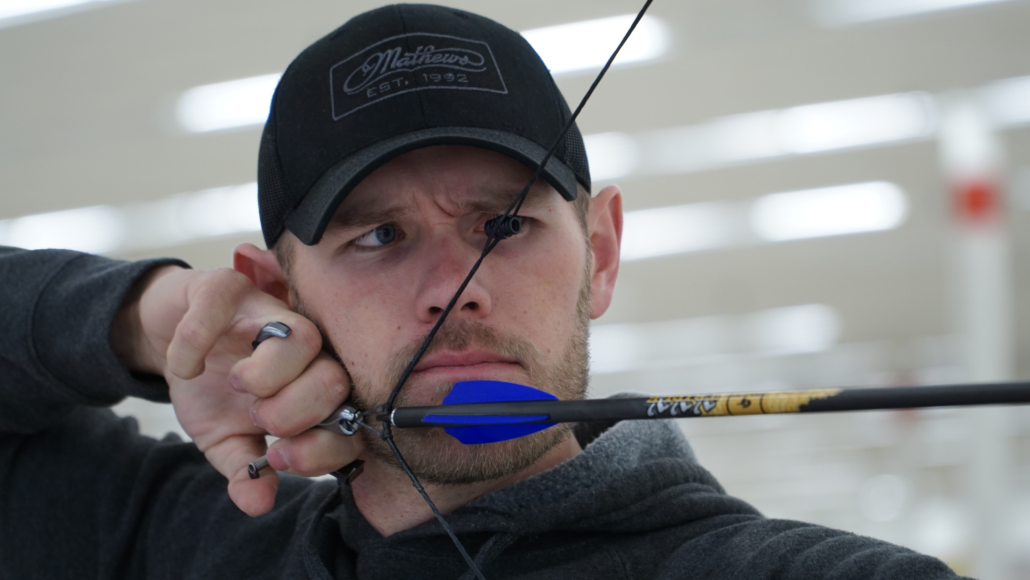
Photo: When it comes to hand-to-face contact, I personally use my first and middle knuckle and lightly anchor it against my jaw bone, avoiding excess pressure. This is both comfortable and easy to repeat.
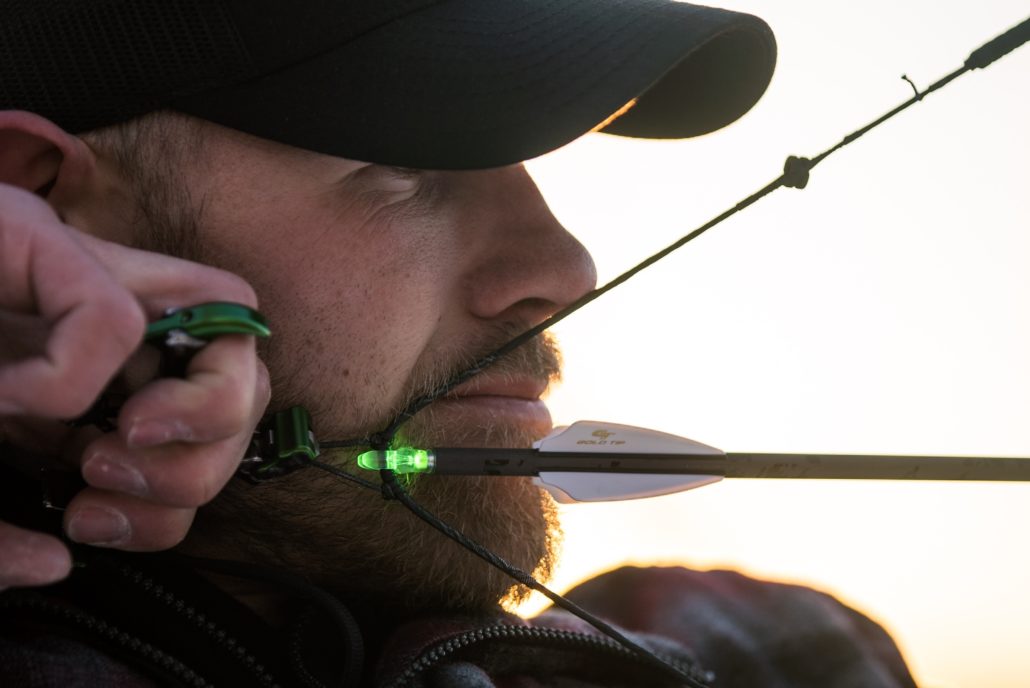
String-to-Face
The third anchor position is “string-to-face”. This is the position where the string makes contact with the face, which for most people, is the nose. It’s common to touch the string either to the tip of the nose or to the side of the nose, and although there isn’t a right or wrong, I find one to be more consistent than the other.
Many archers will choose to anchor on the side of their nose, which is fine as long as they can keep it consistent. However, I find it difficult to make contact on the same spot every time. That’s why I personally use the tip of my nose.
How much pressure you apply to your nose is important as well. Many hunters find themselves putting too much, or too little, pressure against their nose as well. That’s why I recommend very lightly touching the tip of the nose. This leaves less room for error, and therefore improving shot consistency.
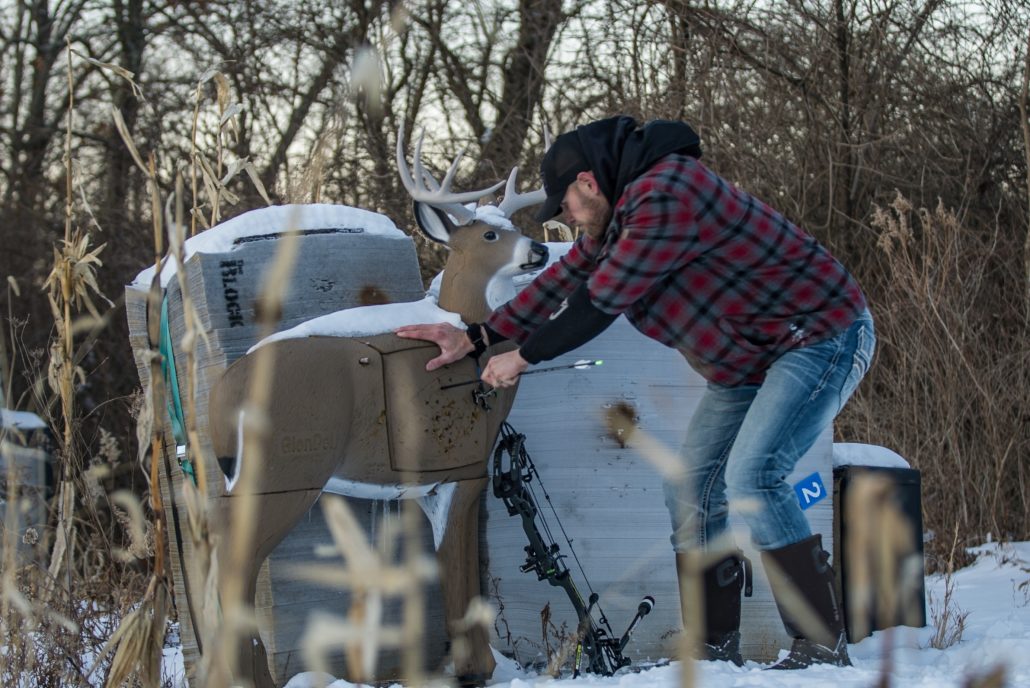
Consistency Matters
To be accurate is to be consistent. This means there isn’t a “right” or a “wrong” shooting form, but rather a form that is repeatable. To be repeatable, your gear needs to fit you correctly and your anchor position needs to become a habit. That’s why I recommend practicing consistent release-to-hand, hand-to-face, and string-to-face anchor points. The combination of these three components helps assure consistency in your overall form and therefore improve your performance as a hunter.